How to Photograph Lightning
![]()
Thunder is good, thunder is impressive; but it is lightning that does the work.
– Mark Twain
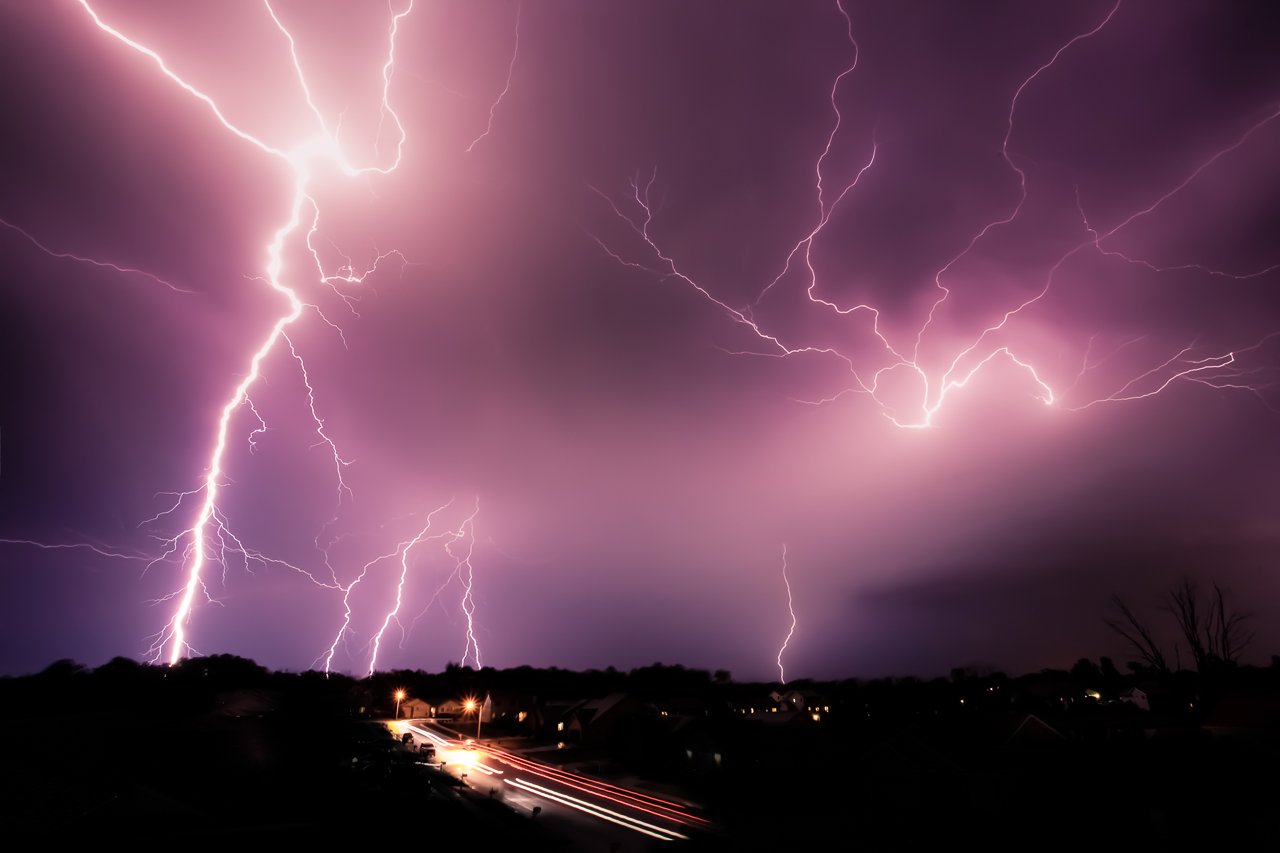
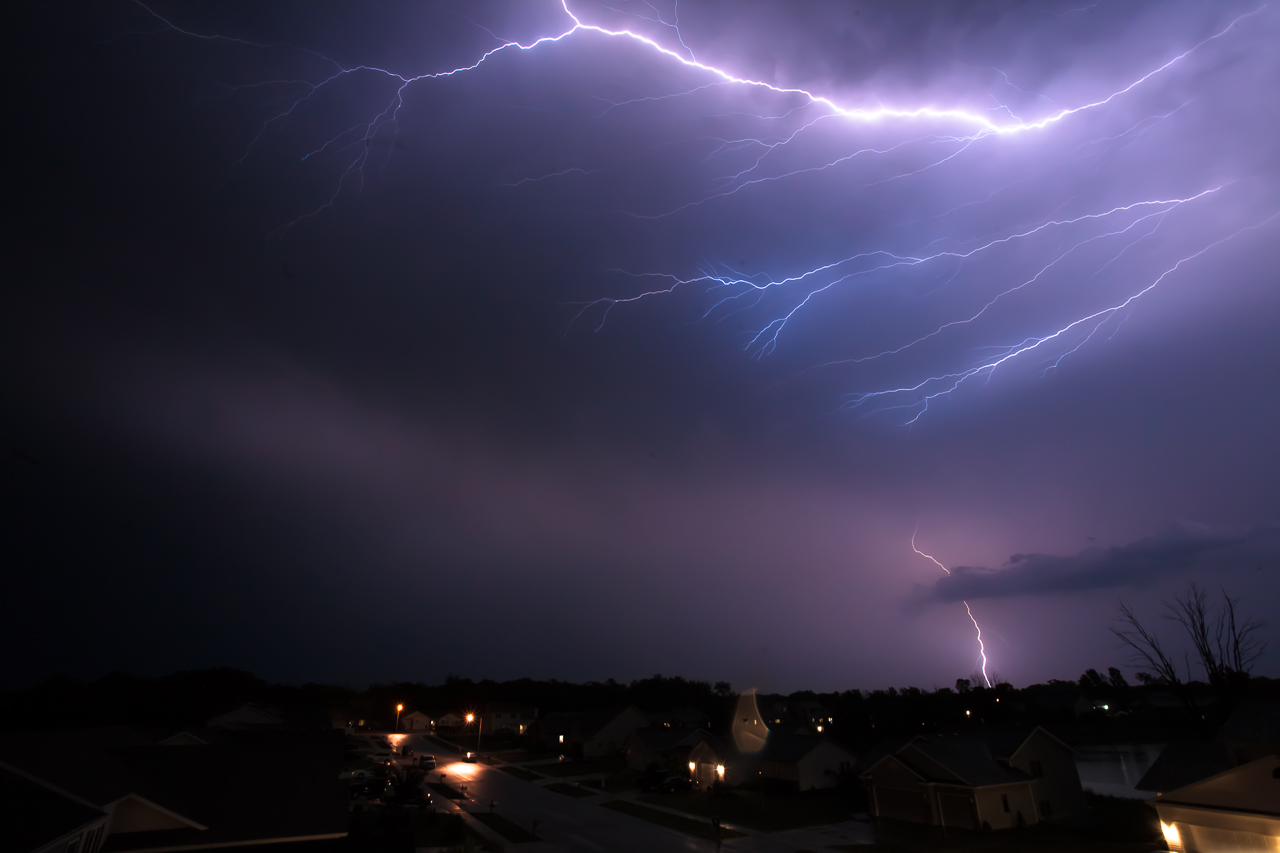
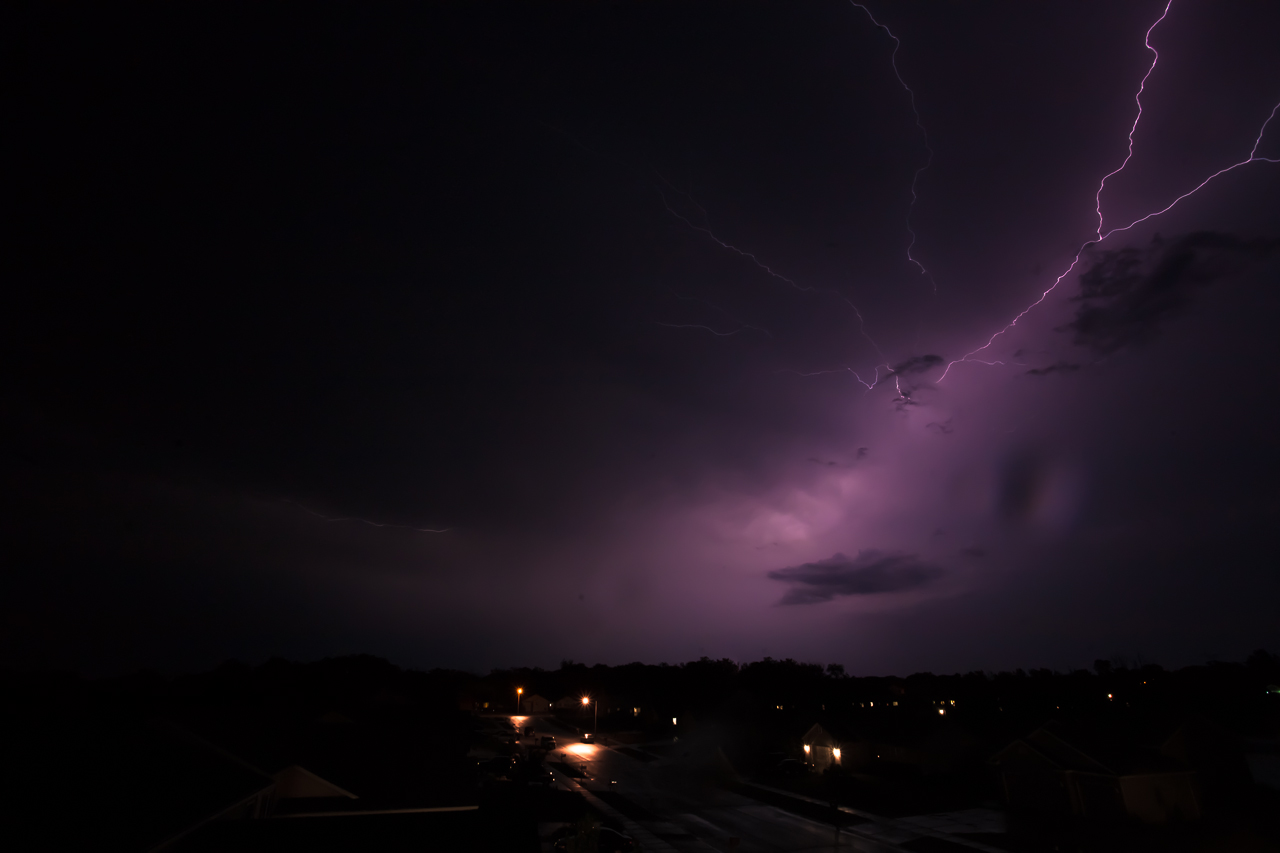
 Lightning is one of the most dramatic subjects you can capture as a nature or landscape photographer. With an SLR, a tripod and a little patience, you can make some impressive images.
Gear + Setup
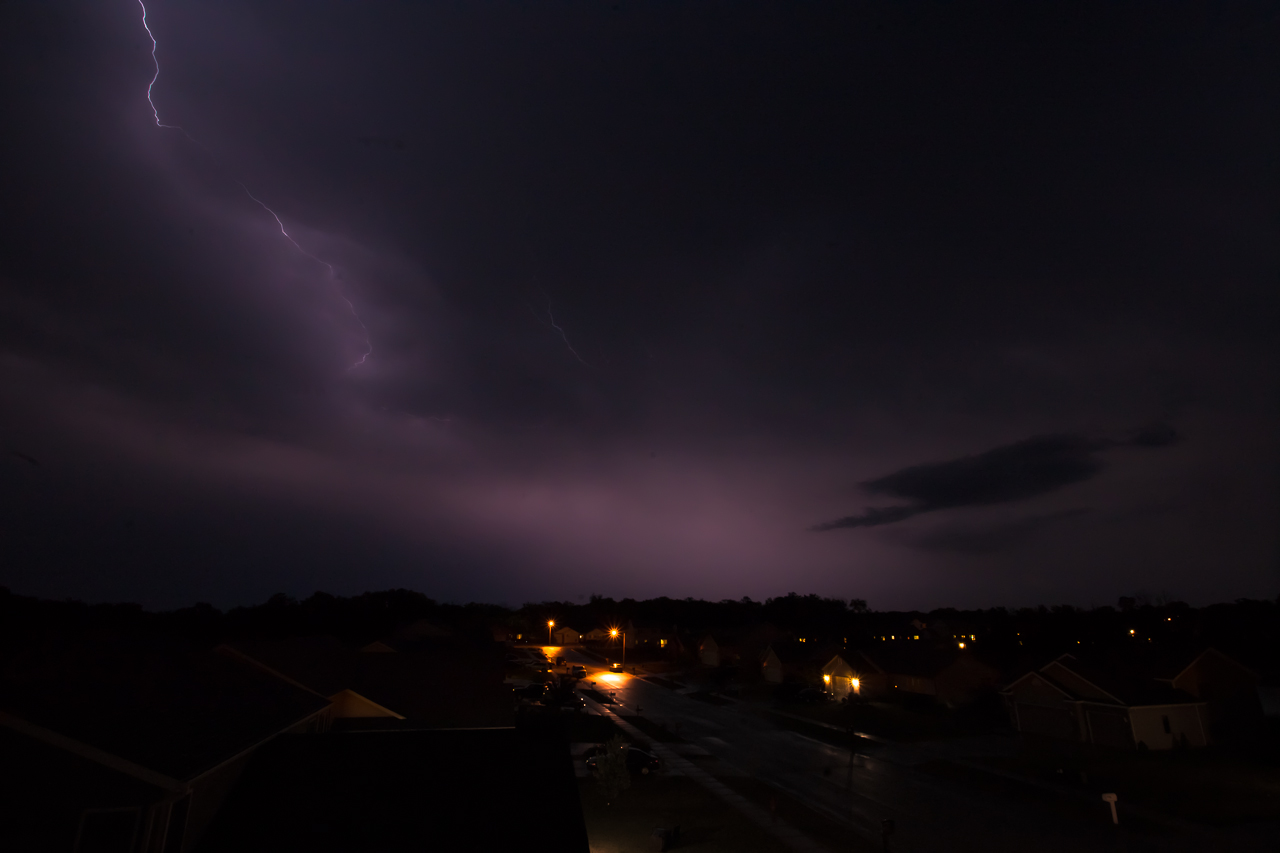
Ok, so you have the camera on the tripod, pointed in the direction of some particularly exciting lightning. You’re in bulb mode and have your aperture set fairly high. The hard part is done. Now we have some fun…
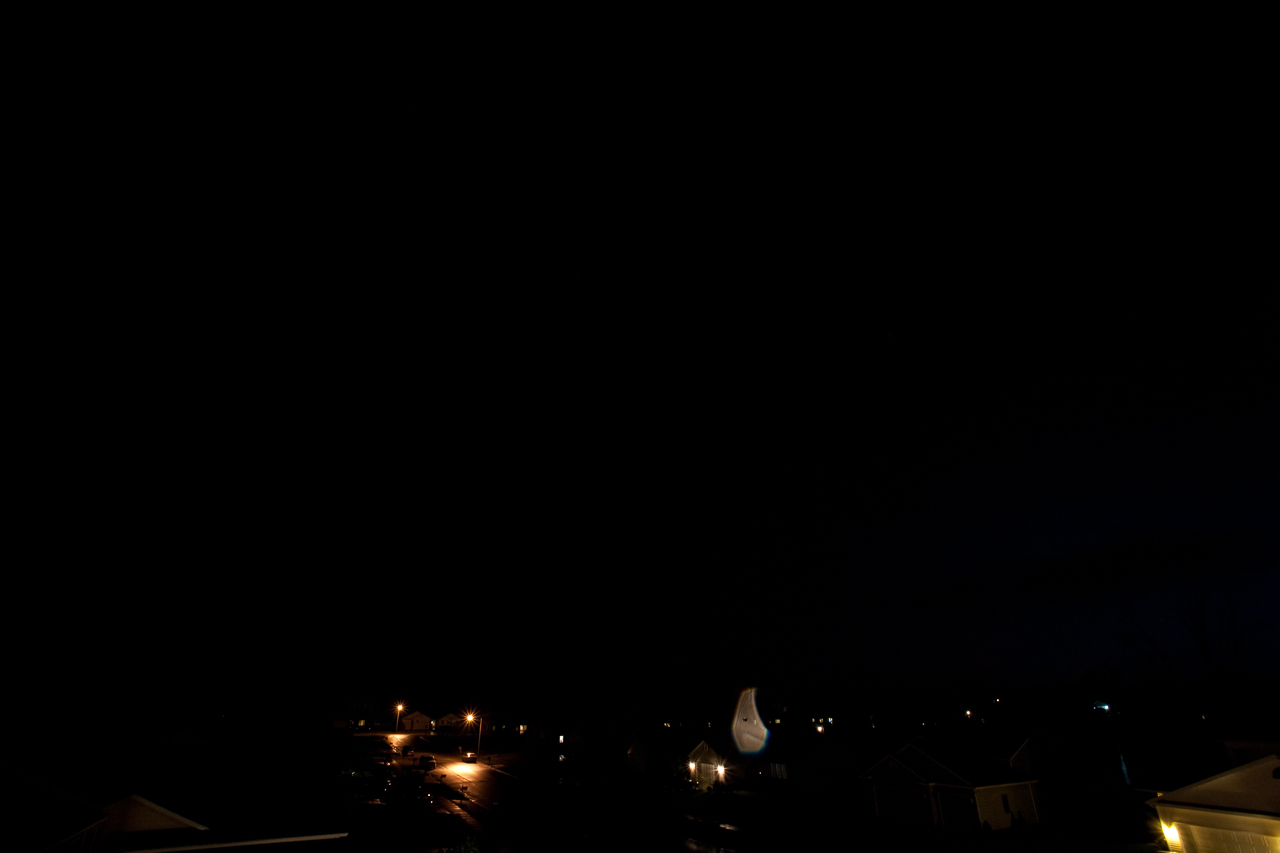
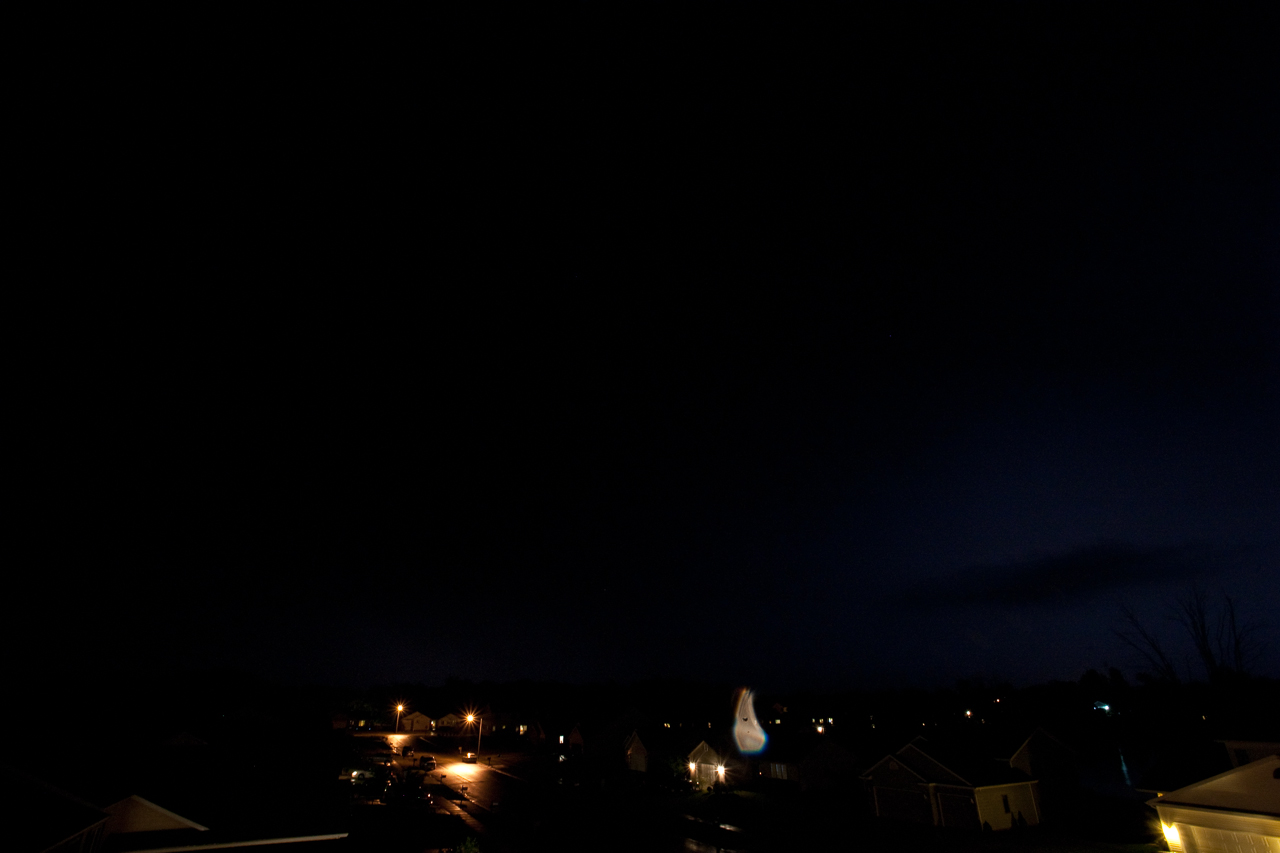
Open the shutter, wait for a lightning bolt to strike, then close the shutter.
It’s really that easy. The tricky part however, is that you don’t want to overexpose the photo. If you overexpose, your lightning bolt will disappear. This will come down to experimentation and experience. I usually adjust my settings so that I can have the shutter open for 10-12 seconds. I open the shutter and count to to 12 in my head. If lightning strikes before the 12 second mark, I close the shutter. If no lightning strikes, I close the shutter, then open it again and restart the count. You will likely end up with a lot of black frames, but this will ensure you don’t miss or overexpose a strike.
That’s it! Keep an eye on the weather radar this summer and get out and capture some lightning.


Leave a Reply
Want to join the discussion?Feel free to contribute!